Critical Mess
Before I get to deep into this one, I must update you on the fundraising campaign for the wing spar fittings. We’ve exceeded 50% of our goal, and are well on our way to getting this important work completed, in fact, we have the funding in place to complete the rough machine work and heat treating ( a massive thank you to all who have donated!!!). The last half of the funding is needed to complete the final machining so we can install these fittings in the fixture…
Every dollar counts! Can you please help?
My next task was to be an easy one, or so I thought! The front ring has been discussed in some of my videos, I typically refer to it as “nothing more than a fairing”. While this really is true (it only closes the gap between the cockpit and frame A), my lack of respect for its complexity came back to give me a wake up call.
While the main front ring components were already built and heat treated, there was still a matter of fitting them together. You may recall that I have spoken about the top of our front ring being of the “retrospective” design, this is the design that was used to convert “car door” Typhoons into the later sliding hood variant. To do this, Hawker designed a unique upper section of the front ring which would allow for the new sliding hood rails, and enable blending with the old front ring sections.
Something that I hadn’t put too much though into here was that these new sections needed to fit existing structure, in doing so, the tooling holes for alignment with the fixture were not made to align with the older, lower structure in that area. This left us with the side sections of the formers floating around on one old tooling hole, and no skins to hold them in place.
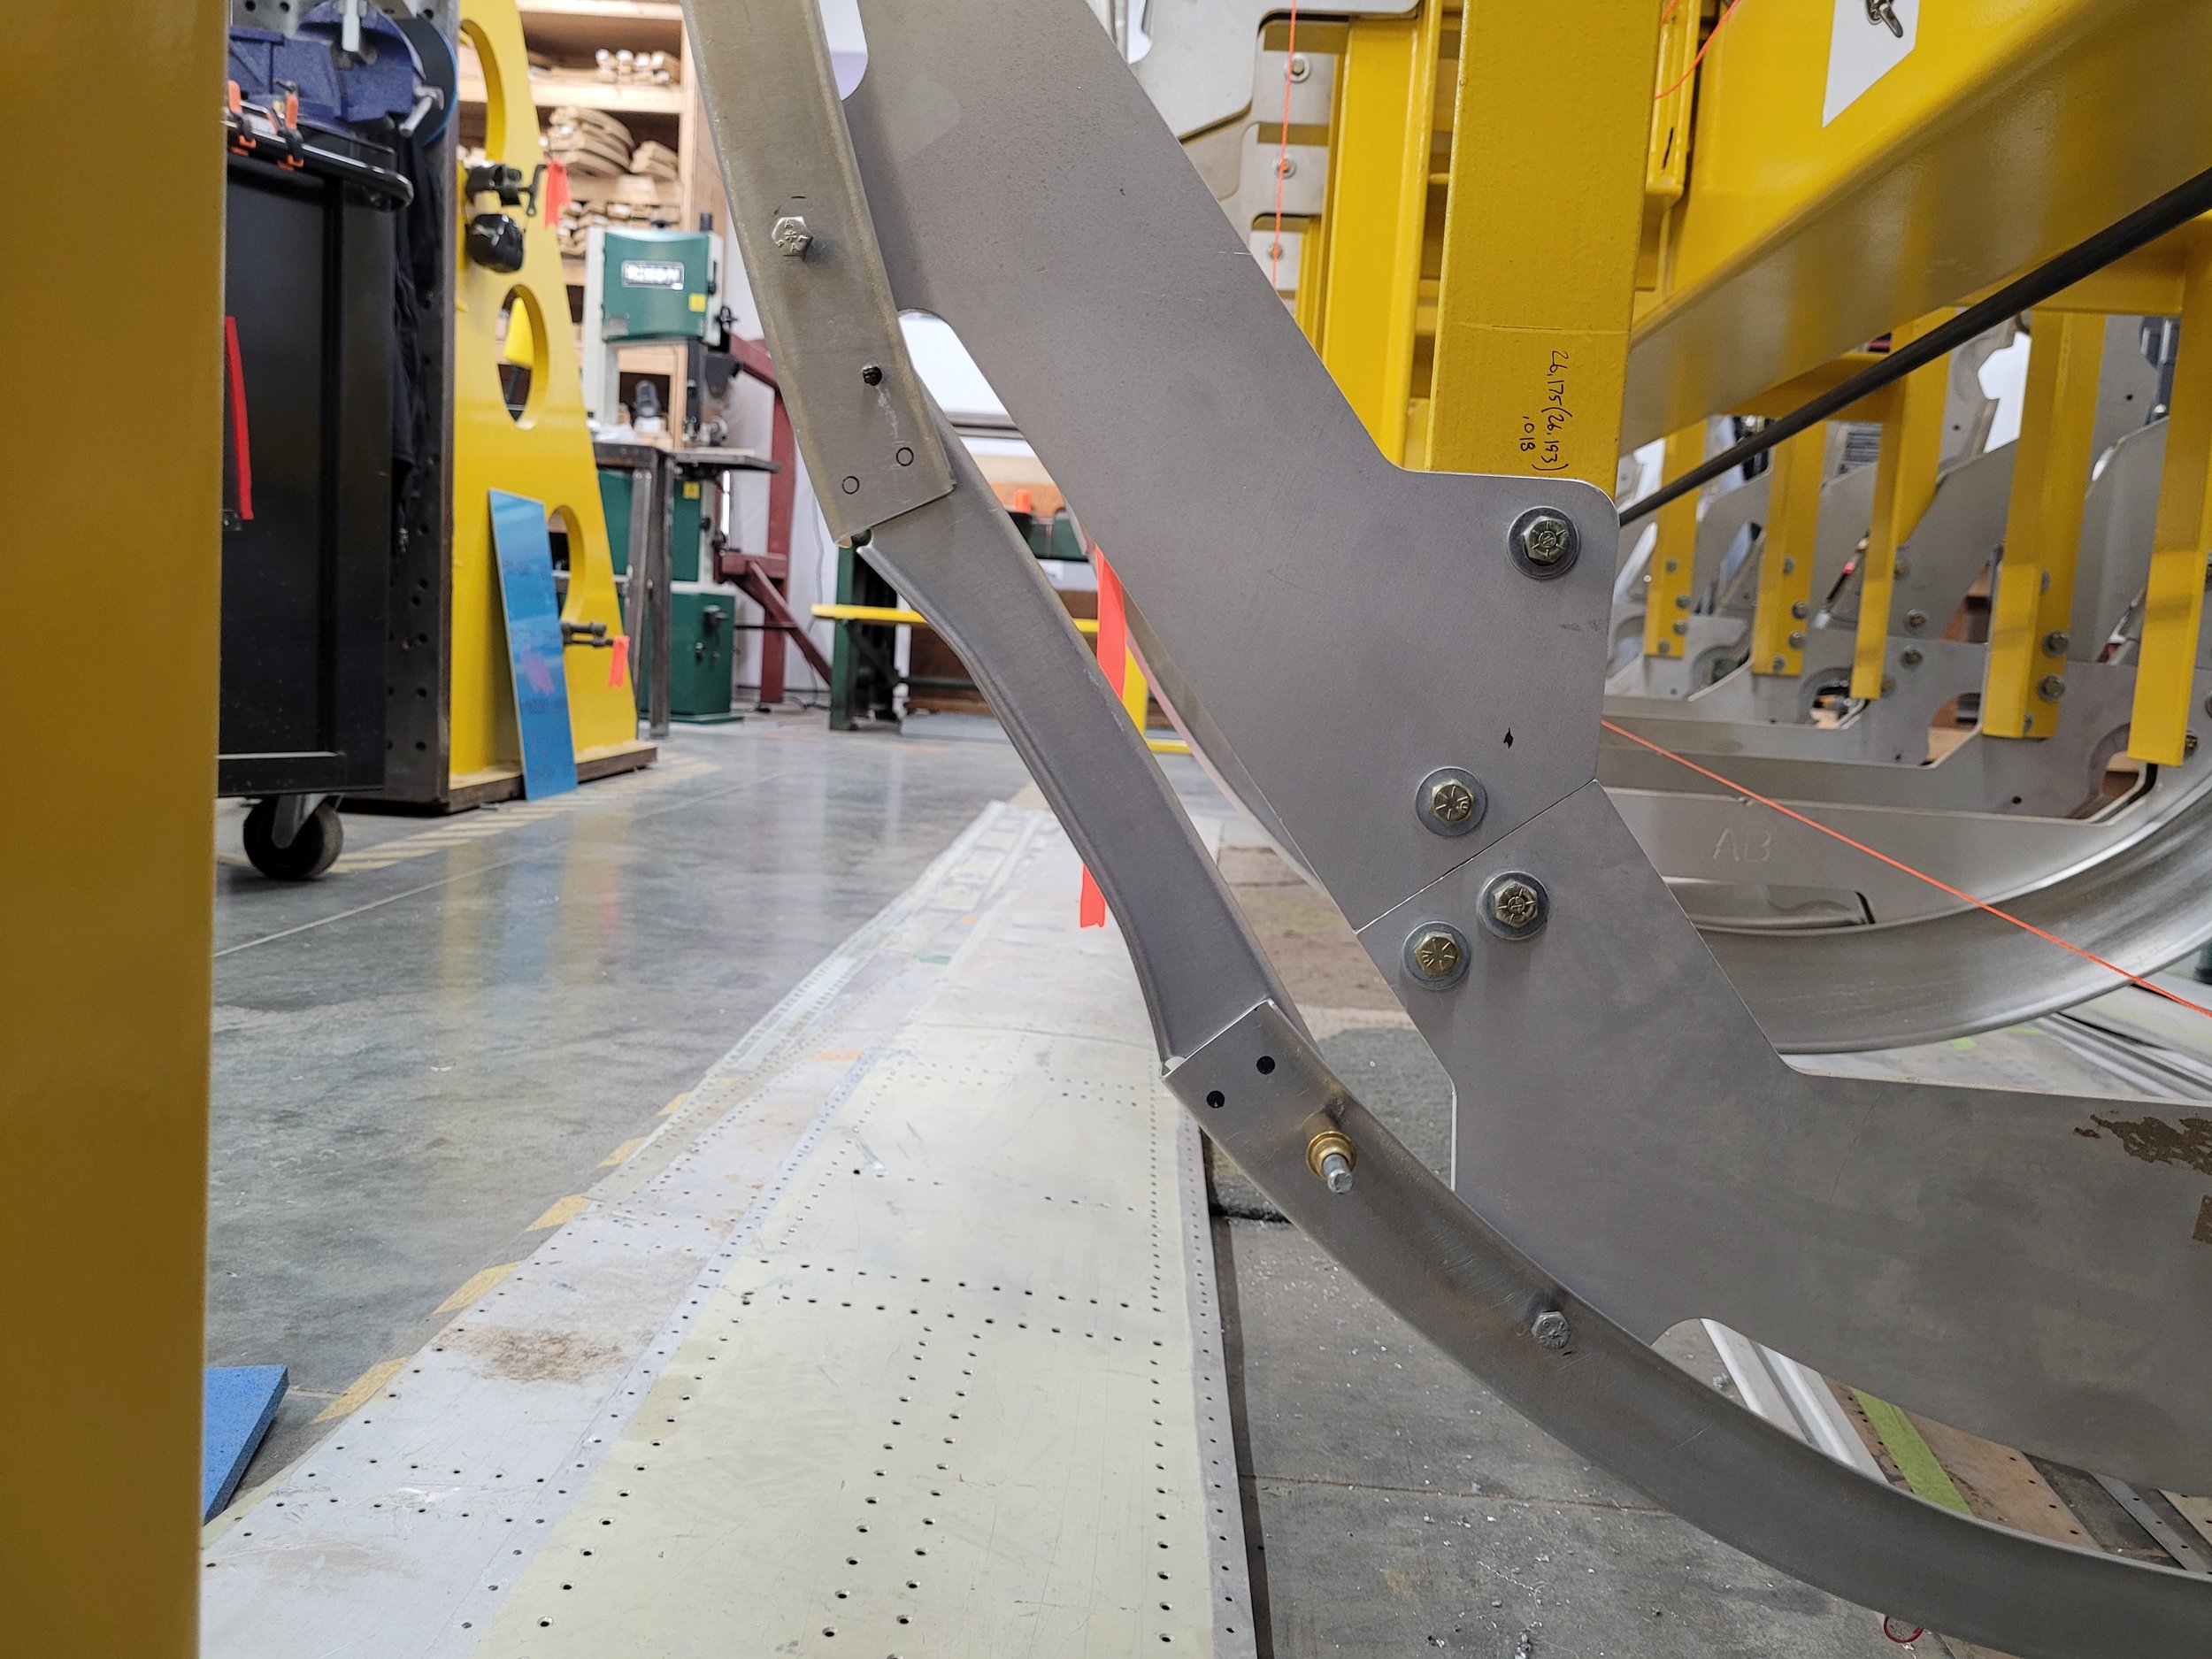
There is to be a metal doubler installed to join old and new structure, but with the sides floating around a very innocent-yet-complex bit of geometry, this task is what really gave me trouble. My first attempts were with the mindset that it would be easy, and I even considered making them from hardened material! I was not fooled for too long though, after several attempts I gave in to making a form block for the tightest bend, but soon realized again that there was more to this story. While chasing the right form on these doublers, I thought it smart to check the front end ring width at several key locations, this showed that there was no way I would be succeeding with my bad attitude.
With my original Hawker drawings now key to this task, I set to make a change to the front end ring station plate (the part of the fixture holding the parts), that would support the top of the two side pieces.
Only with these parts now fixed in the correct position could I look at fitting new doublers. My experience with the failed doubler attempts really helped identify what needed to happen, and I used this and some new ideas to get both sides completed. The work saw one more failed part, some horrible language, and a wee bit more grumpiness than I like to have in the shop, but they were done.
The next problem was in the joint area between the sides and the bottom frame segment. This area is split with a 7” gap and a bridge piece that allows the cockpit integrating structure to run back through the frame to connect with frame A.
As with all of my frame parts, these were produced slightly longer to allow trimming on installation. Unfortunately I found a small error in the data that was going to cause more grief in trimming, which also prevented fitting the bridge pieces. Thankfully CAD came to the rescue, and my Dad (Bruce) was able to create a quick .dxf file that I could use to make the required adjustments. This file was then used to cut a temporary template that gave me the correct trimming and drilling locations to fit everything you see above.
With this work done, we have now trimmed and fit the final frame on the monocoque, the one part preventing fitting and trimming new skins! Stay tuned, after I clean my mess up, skins will be the name of the game!


